University Staff can create and own a team within Microsoft Teams which includes any combination of staff and students starting in the 2023 Fall Semester. Staff who create teams are responsible for managing.
- Ownership: There should be at least two staff owners for each team
- Membership: Team owners can add and remove members, add guests, change team settings, and handle administrative tasks
- Content of the team: team owners can set different permissions for different Files/folders/members
Table of Contents
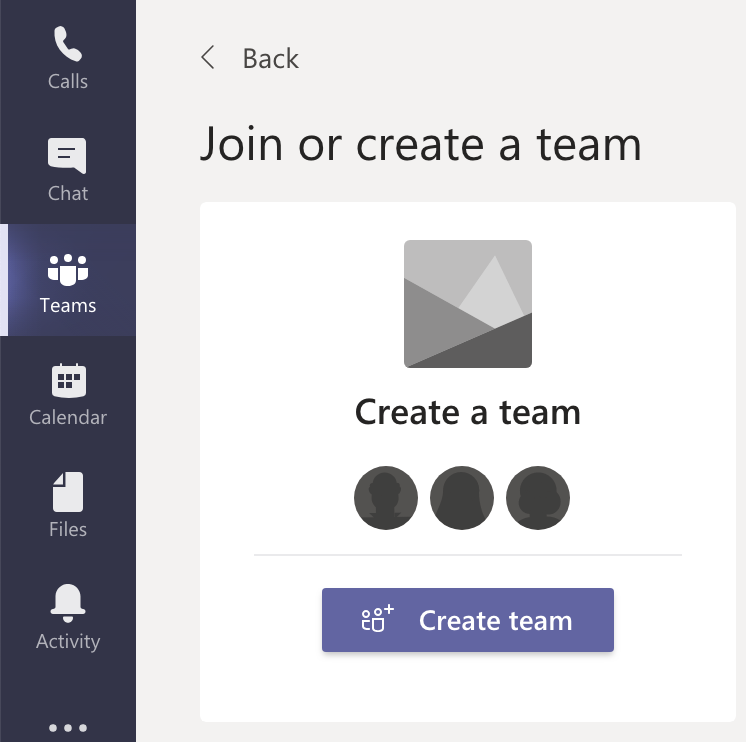
Step 1: Join or Create a Team
Once inside the Teams tab of Microsoft Teams, click the option to Join or create a team.

Click Create team.
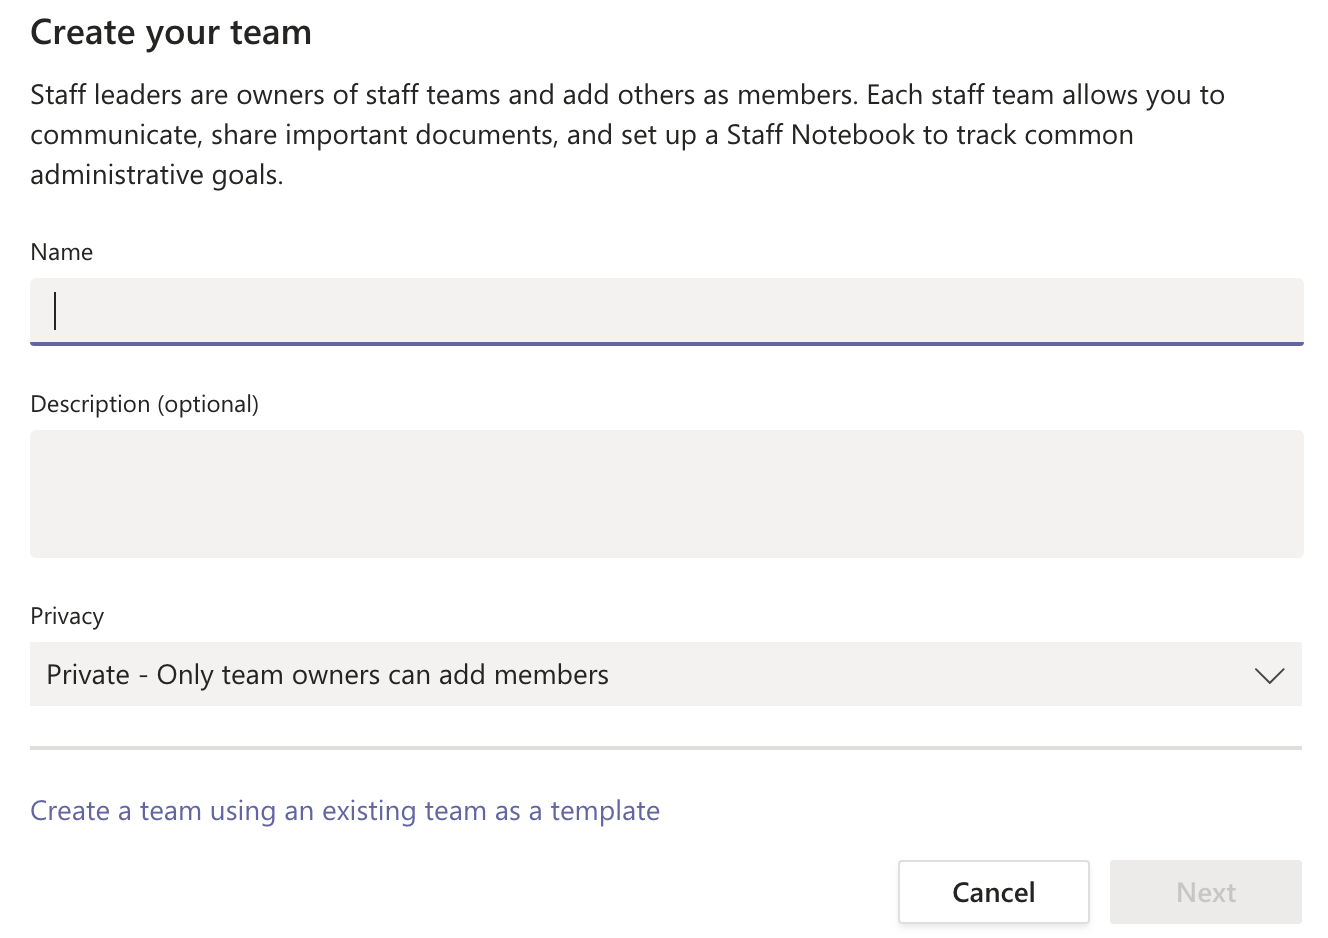
Step 2: Name Your Team
Give your team a brief, clear name that is recognizable for your use, such as the project name or objective (ex. ‘Project Epsilon’ or ‘Management Team’ or ‘Diversity Committee’).
Select the Privacy setting:
- Private: only team owners can add members
- Public: anyone in the organization can join through a link or code provided by the owner(s)
Step 3: Add Members
Invite individuals by entering names and selecting them, then click Add.
Designate each member’s role in the team:
- Owner: manages the team, including who is invited to be part of the team, creating channels, and moderating conversations (Posts)
- Members: participates in the team and conversations (Posts), can access resources within the team that Owner(s) make available; cannot create new resources or change membership within the team depending on moderation
Requests to add people to the team are sent to the owner(s) to approve
Creating a Channel in Teams
Step 1
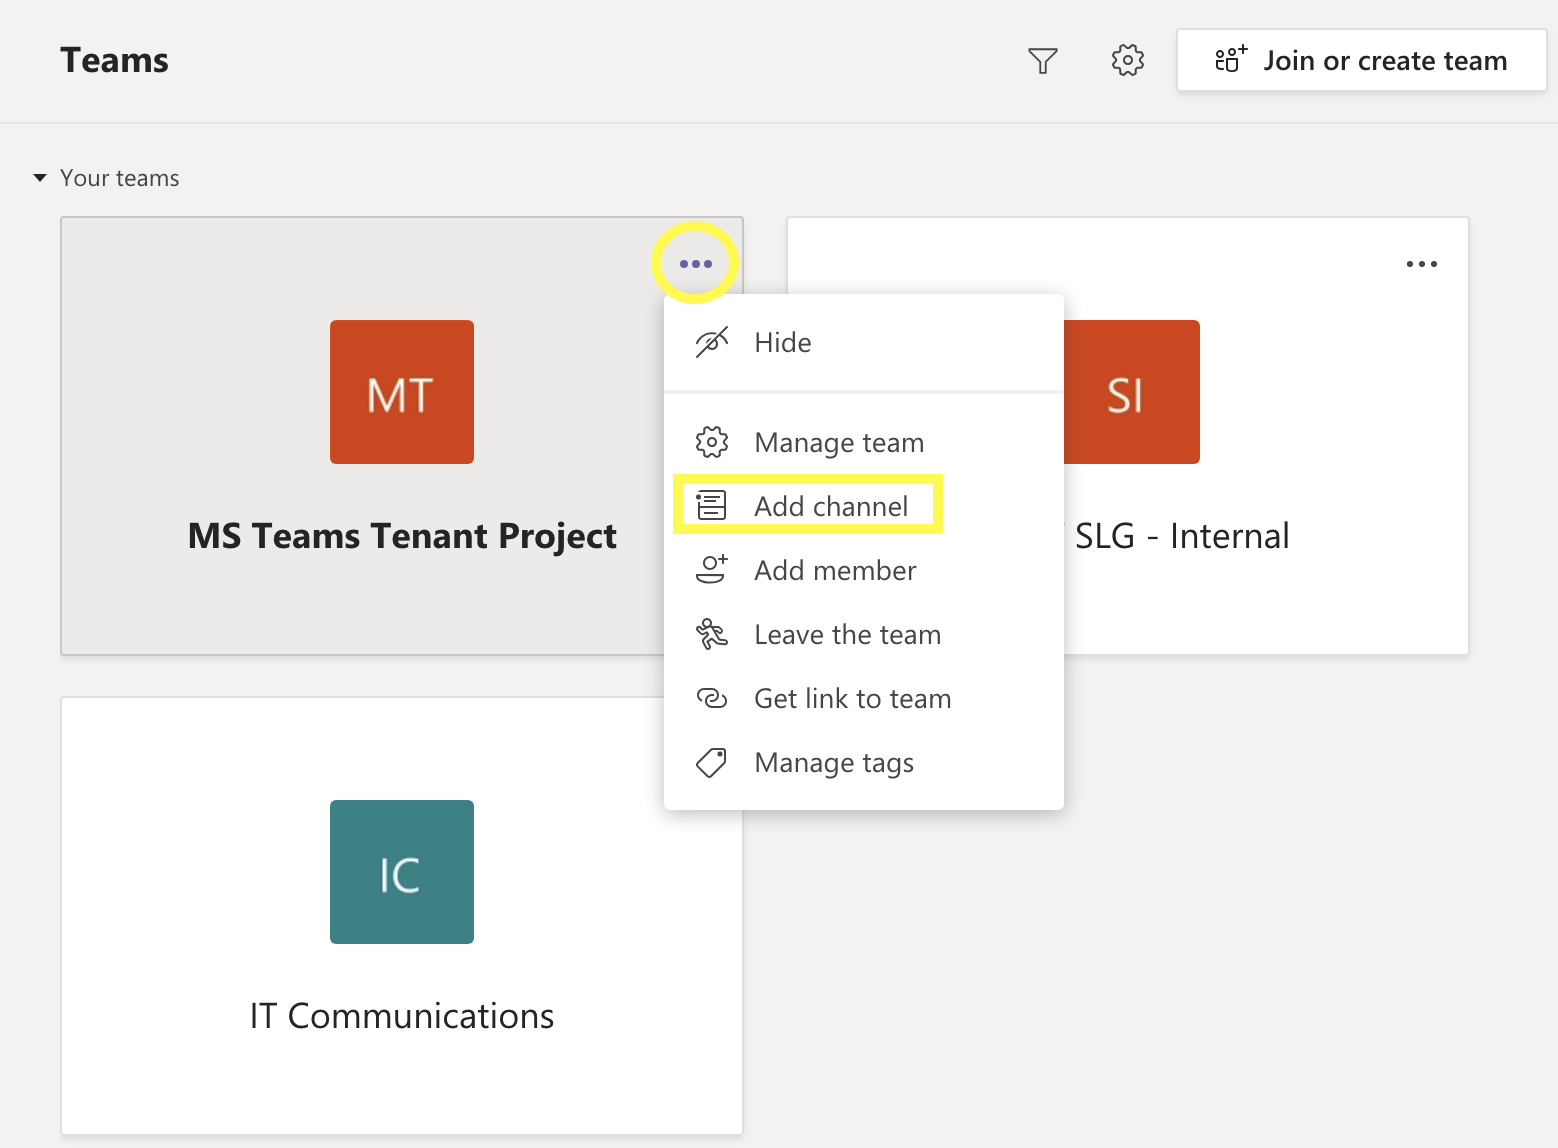
Next to the team name is an ellipsis, click on that and choose Add Channel.
Step 2
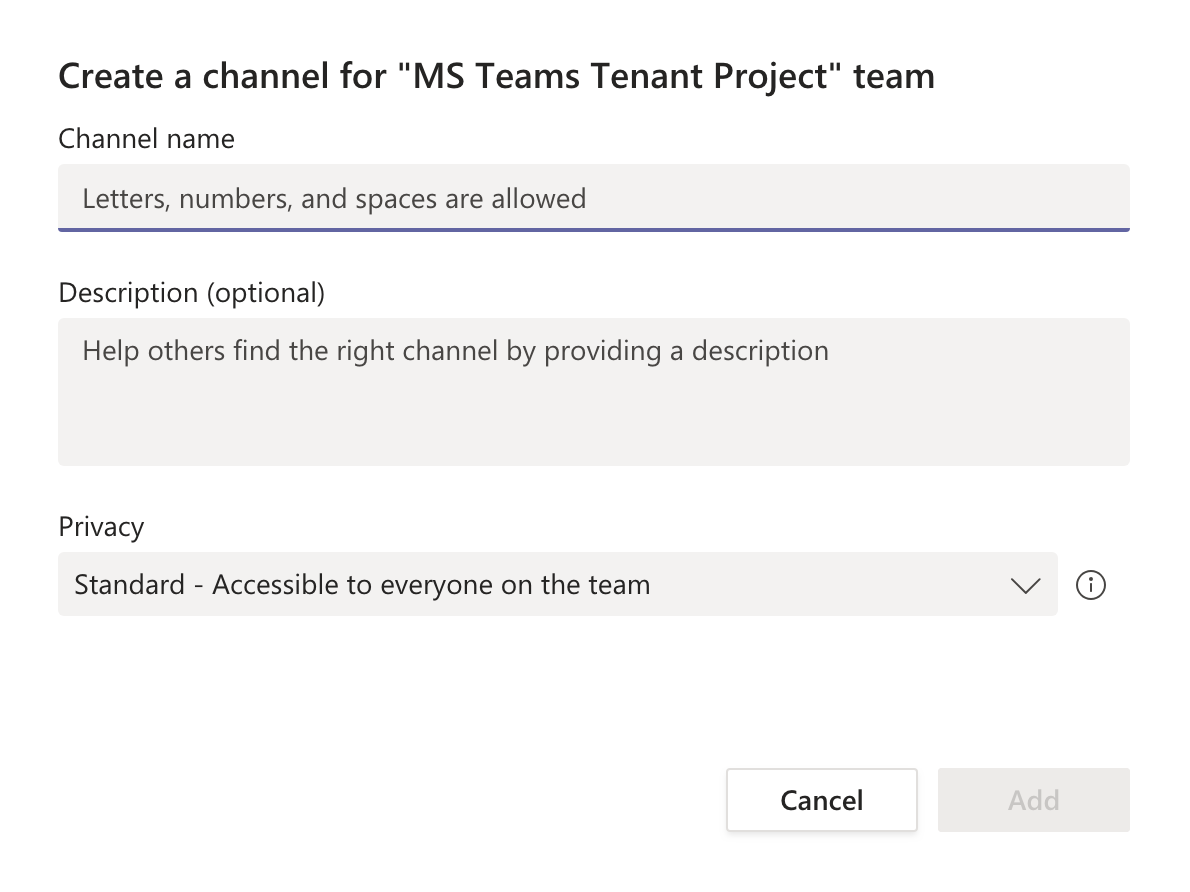
Name the channel – This is a focused topic of the bigger picture (ex. Communications, Infrastructure).
Step 3
Designate the channel as Standard or Private.
Step 4
Choose whether the channel automatically shows for all members.
** PLEASE NOTE: Private channels only show to members that are invited.
Files and Collaborative Editing
Each channel within the team receives its own document library. Every team member has the same authoring and editing privileges with all the files. There are no more unique permissions when it comes to files and folders.

- Office files [Excel, Word, PowerPoint, etc] can be edited in real-time with colleagues. Once the document is uploaded or created in the library, it can be opened by everyone simultaneously.
- The files tab is a representation of a SharePoint Online document library. At the top of the teams page with the files, is an option to Open in SharePoint.
-
- Opening in SharePoint has several advantages for advanced users. There are ways to integrate workflows, advanced sharing, and additional column support.
Adding Tabs within Teams
After the default Posts and Files tabs, there can be any number of additional tabs that can be added across the top to accompany them.
Tab Options Include:
- Office documents: If there is an important document to the entire team, it can be added across the top.
- PLEASE NOTE: The file itself must already exist in the Files tab.
- PLEASE NOTE: The file itself must already exist in the Files tab.
![]()
-
-
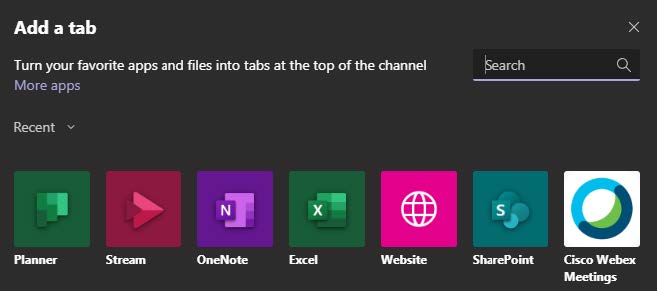
- Click on the + sign and select the Office application needed.
- Teams will then prompt for the file of the document type to be added.
- The tab can then be renamed to better represent what is contained within so users know they can access it.
- Tabs show across for all team members.
-
- Planner / To-Do: Create a plan and tasks for the team by adding a tab for it here.
- Websites: Any website can be added by pasting the URL into the dialog box when choosing the Website option.
- If the website requires logins, everyone needs to log into their “instance” of the website.
- There are no cookies, so nothing is saved.
- Any 3rd party application that is currently enabled in Teams may have an option here.
Setting Team Notifications
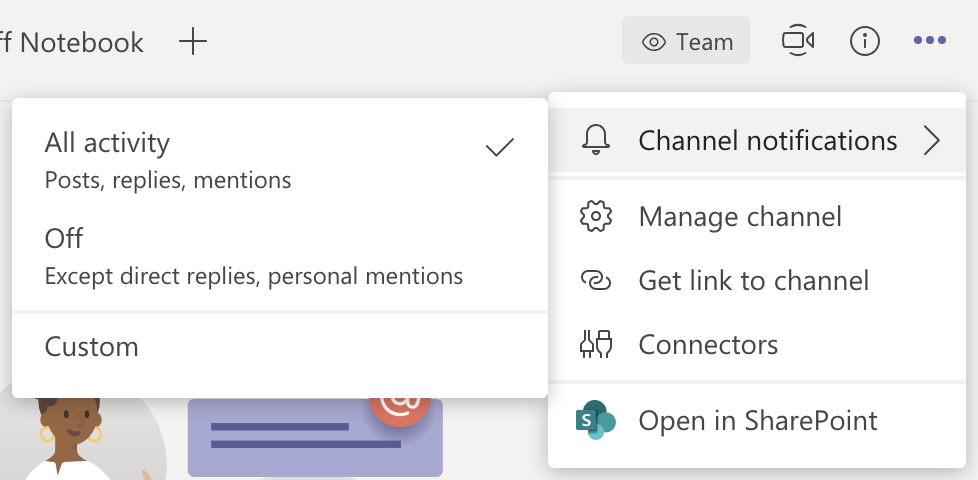
If you are administering a team or set of channels, it is encourage you ask the members of your team to enable channel notifications as they are turned OFF by default and any activity will not be received by the recipient unless they are specifically @mentioned.
To do this, simply click the more options ![]() within a specific Team.
within a specific Team.
How to Add a Team Calendar
Step 1
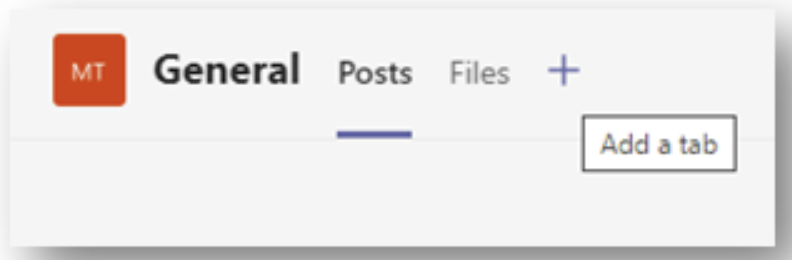
Identify the team and channel that you would like to add a calendar to. In the main window of the team along the top, look for the plus sign ( + ) and click there. This will open a new window.

Step 2
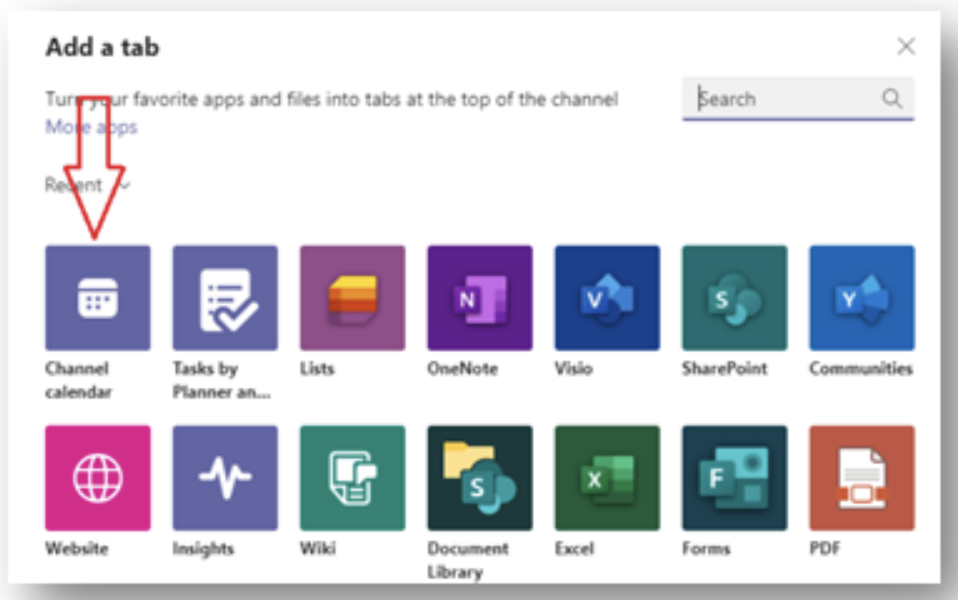
On the Add a Tab window, find the Channel Calendar icon.
Please Note: This can be sorted differently than the screenshot.
Step 3
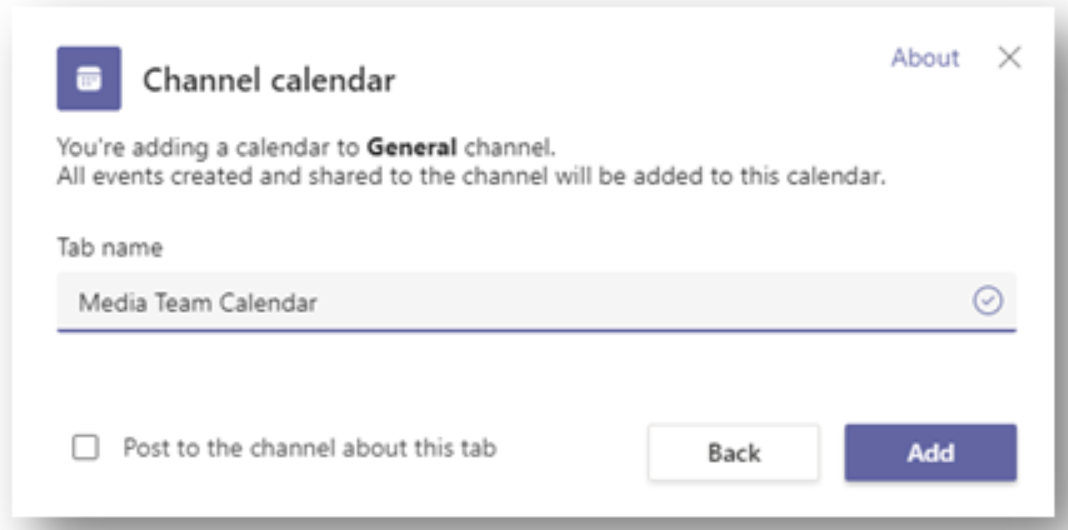
After clicking on the icon to add the Channel Calendar, Microsoft Teams will present you with the window to name it and optionally post about the new calendar into the Posts tab of the channel.
Step 4
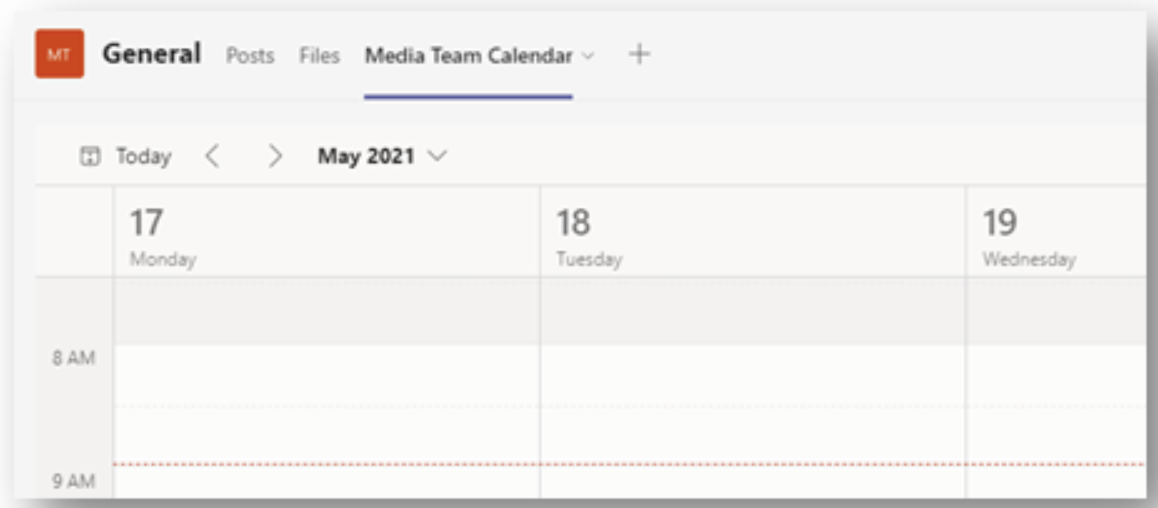
Once it has been Added, the tab will show along the top of the channel workspace that can be selected by everyone on the team.
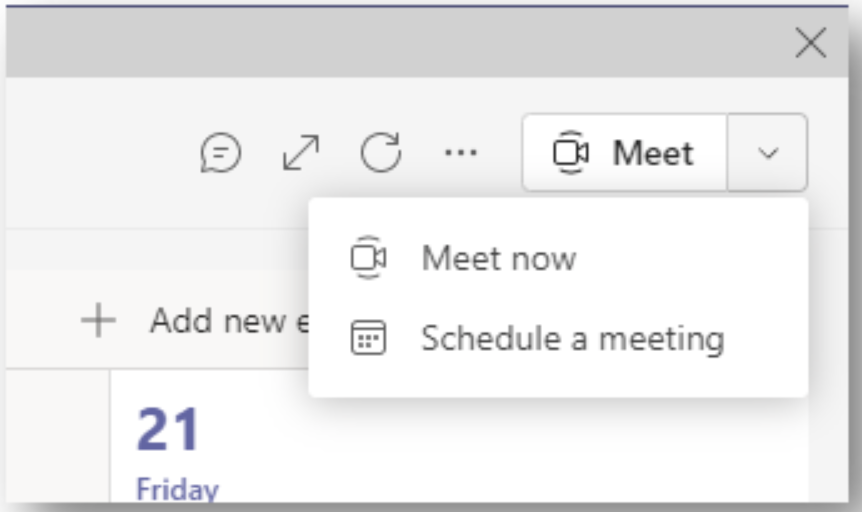
Step 5
At the top-right corner you can schedule a meeting or choose to meet now by clicking the down arrow.
Using the Calendar
1. Utilize the Scheduling Assistant to find a good time for everyone on the team.
- You can set the meeting to re-occur in any interval or one-time.
- Optionally require registration to make sure acknowledge the meeting (Useful for very large teams and/or outside invites).
- Add additional attendees outside of the team membership.

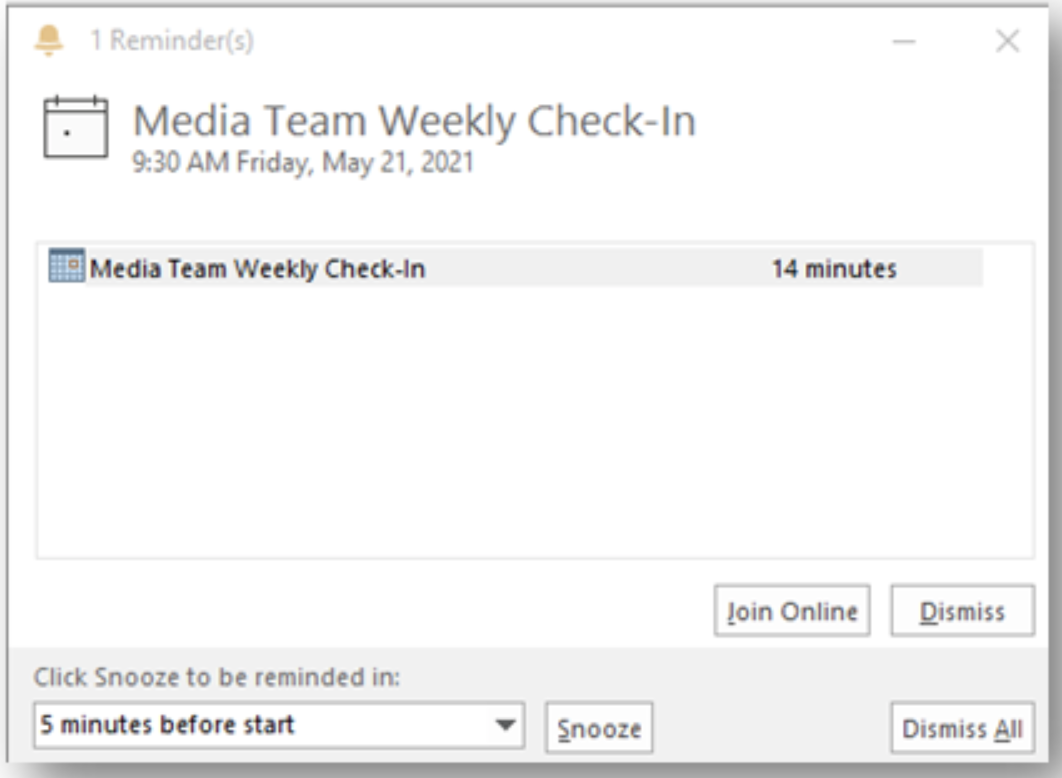
2. Once scheduled, this meeting will display on your primary calendar and all notifications will be handled the same way Outlook currently displays them.